
Help articles › Kit Instructions
Print / Save as PDFAssembly Instructions for the KnifeKits.com
Oregon Skinner (KK431BL)
w/Camel Bone Scales
-------------------------
Tools Used
(.257) and #12 (.189) drills
Drill press
Saw
Files
Sandpaper
(Belt sander, if possible)
-------------------------
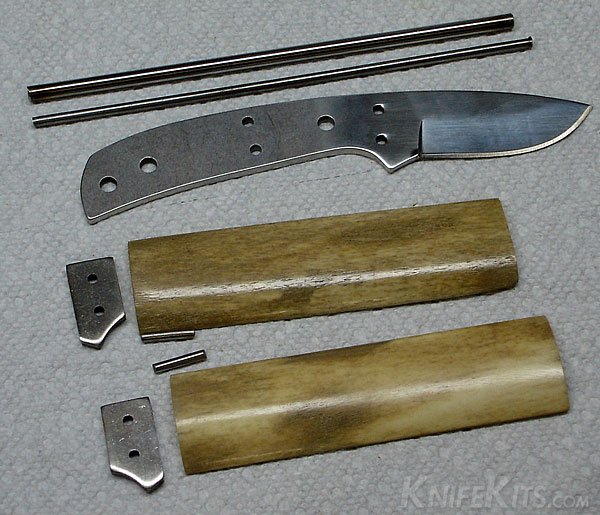
These are the parts we’ll be working with for this kit project.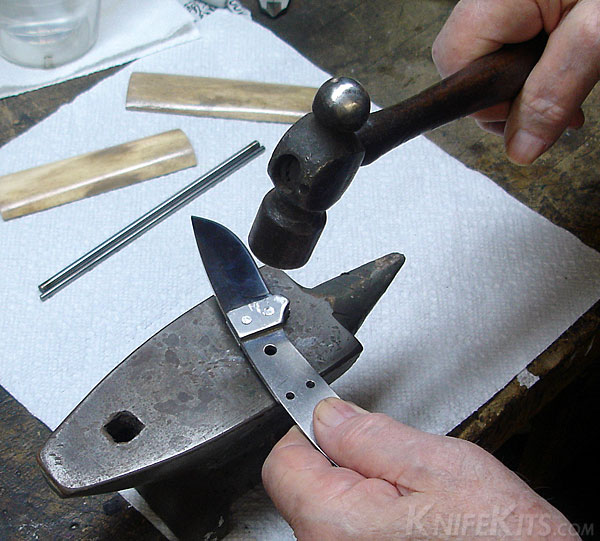
Insert the 2 pins and be sure the pins stick out ½ to 1 pin diameter on each side. If they are too long they will bend.
Peen the ends over. Turn the knife over and over as you peen to keep the ends even.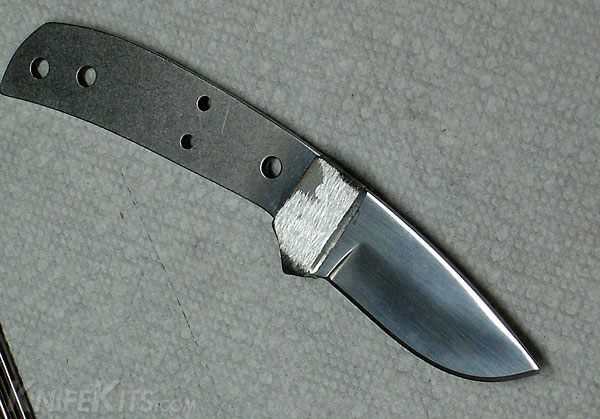
File or grind the pins even with the bolsters on both sides.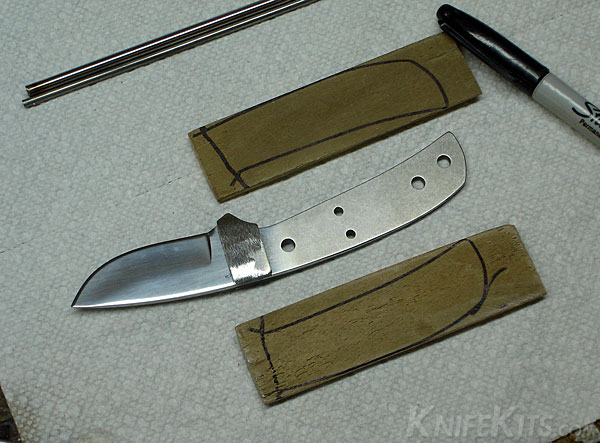
Draw around the profile of the shank on the scales.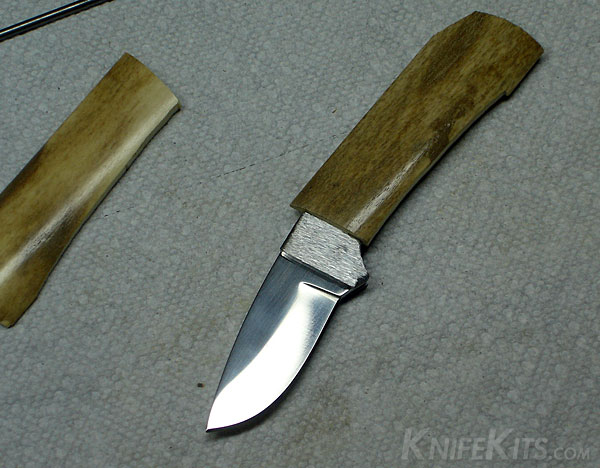
Saw the profile out roughly, then carefully fit the scales to the bolster on each side.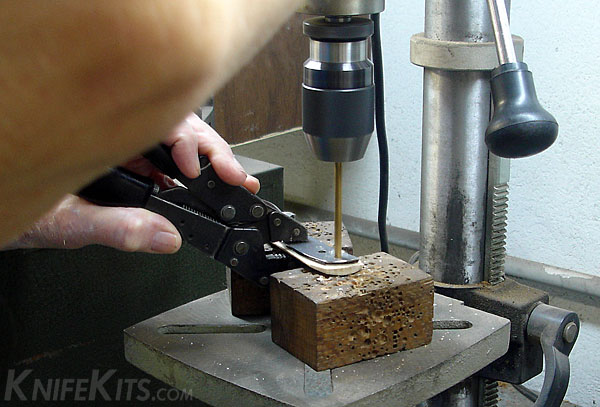
Clamp the knife shank to a scale and carefully drill thru one of the holes in the shank and thru the scale.
Use an F (.257) drill.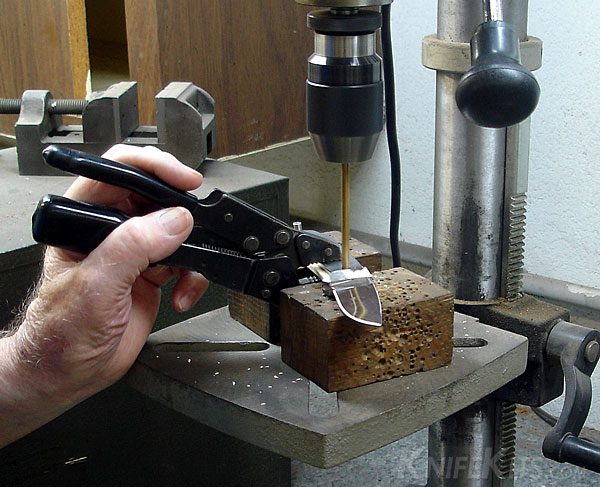
Place a pin thru the first hole to prevent shifting and then drill the second hole.
Repeat these steps for the opposite scale.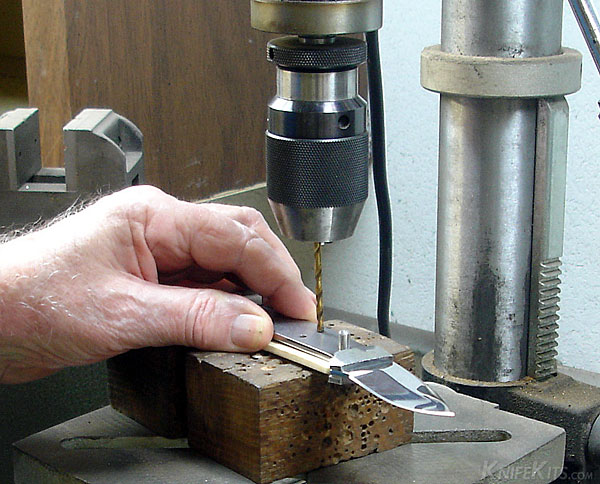
Place 2 pins thru the first holes, then drill the 2 smaller holes using a #12 (.189) drill.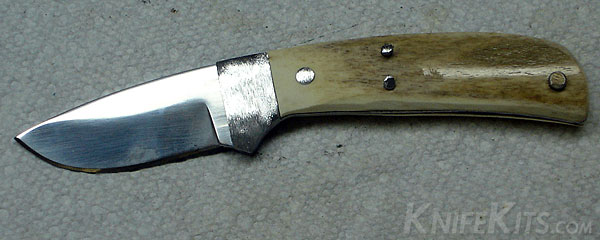
Assemble the knife and rough sand the scales to size, fitting the scales to the bolsters.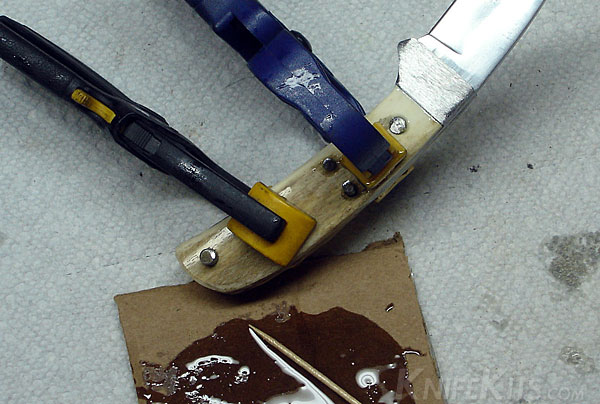
Cover all the parts inside with 2-part epoxy and securely camp the assembly until the epoxy has cured.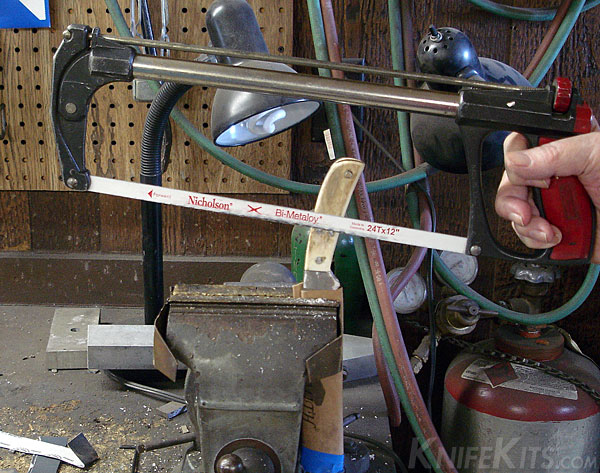
Saw the pins flush.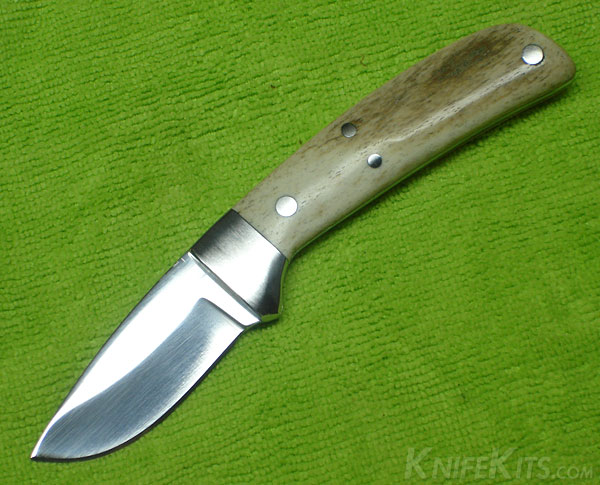
Sand and polish. A coat of paste wax will be helpful.
Congratulations!
Your new Oregon Skinner is ready for use.
Still stuck? We reply within 1 business day.
Contact us