
Help articles › Kit Instructions
Print / Save as PDFAssembling the KnifeKits.com Clip-Point Skinner
------------------------------
Tools Recommended:
Milling machine
Vise
3/8” End Mill
3/16” Drill
Sandpaper
Belt Sander
------------------------------
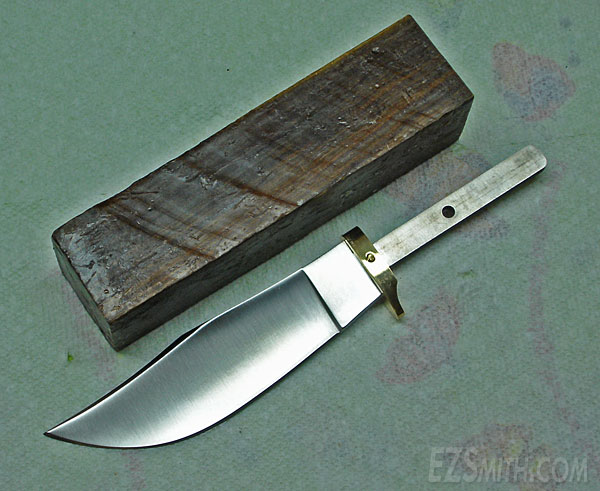
The above shows the Clip-Point Skinner Kit with optional handle material. For this build, we will use a 2-piece milled handle construction, but you can alternately use a full handle design. (see Clip-Point Scout alternate instructions)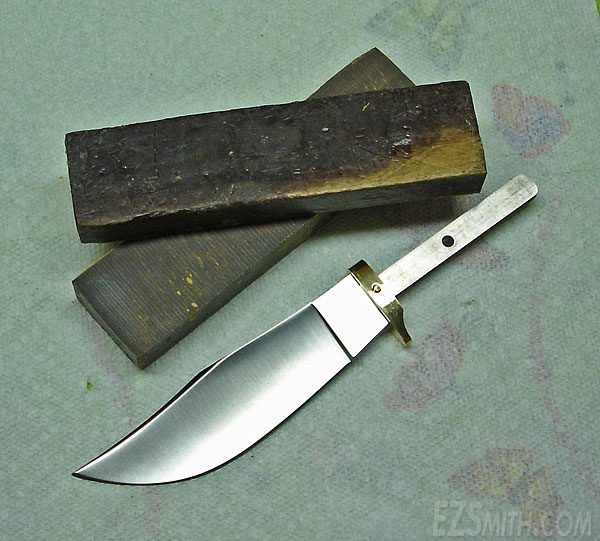
Saw the block in half.
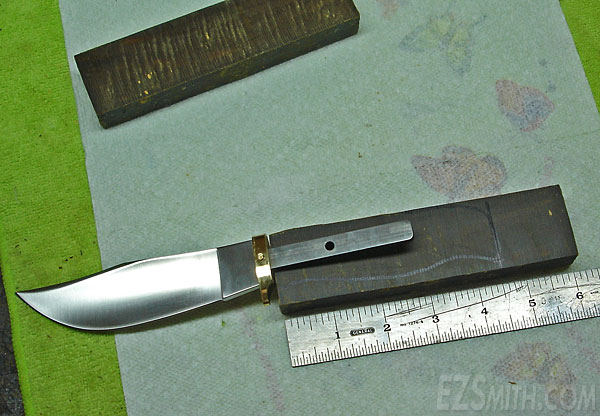
Draw the outline of your handle on one block and saw it out leaving plenty of stock.
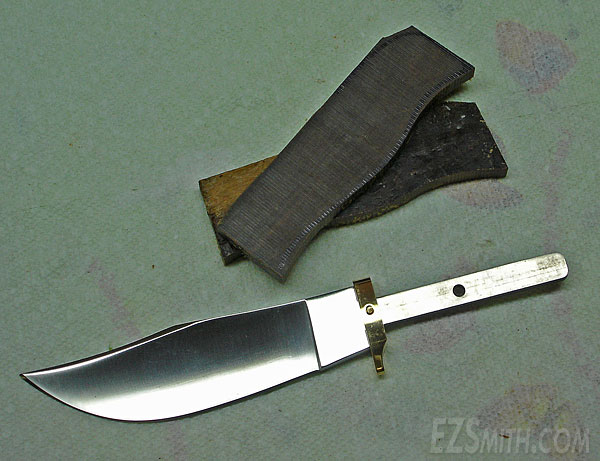
Next, saw that block down the center.
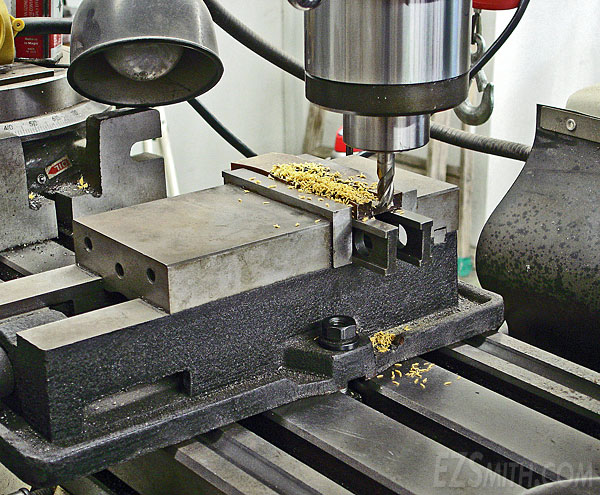
Clamp one side of the handle in your milling machine vise and mill a slot half the tang thickness in the handle. Repeat for the second side of the handle.
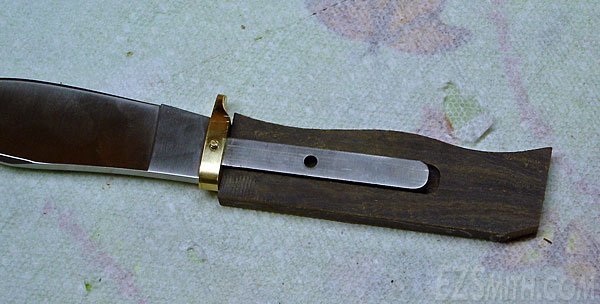
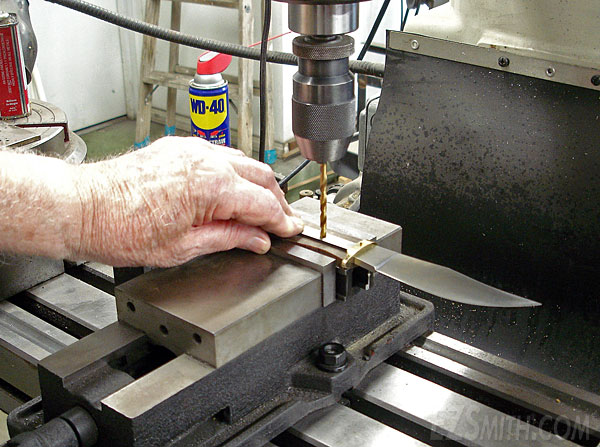
Next, mill across the face of the handle block. Then line up a 3/16” drill with the hole in the tang. Drill the hole through. Repeat for the other side of the handle.
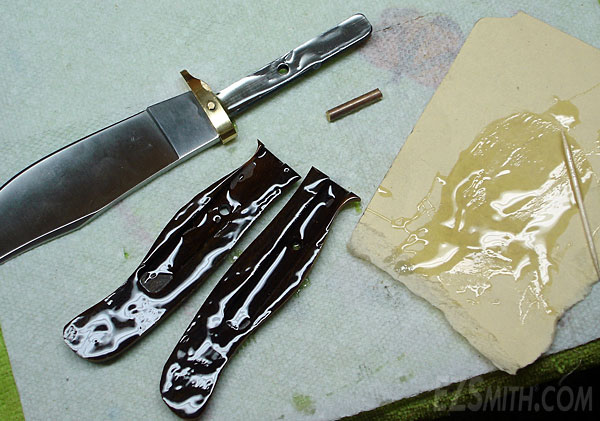
Coat all pieces with 2-part epoxy and assemble.
Clamp securely and allow the epoxy to cure.
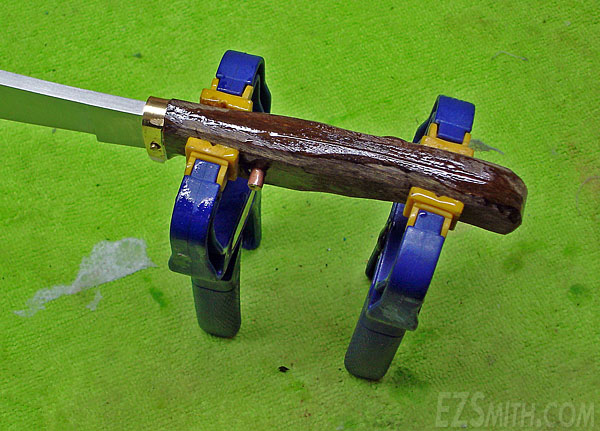
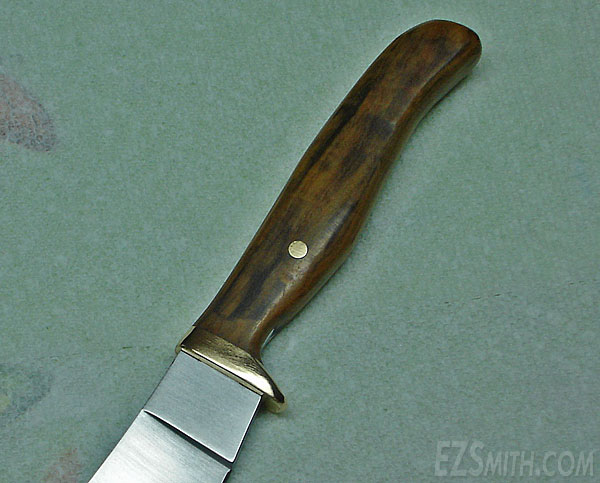
Shape, sand and polish the handle to suit.
---------------------------------------------------------
Congratulations, you now have a beautiful Clip-Point Skinner!
Be careful before, during and after assembly!
It’s sharp!
---------------------------------------------------------
Still stuck? We reply within 1 business day.
Contact us