
Help articles › Kit Instructions
Print / Save as PDFAssembling the KnifeKits.com Clip Point Scout
w/Laurel Block for Handle
CPSCTBG-338-1
-------------------------------
Tools Recommended
3/32” and 9/32” drill bits
Woodworker’s clamp
Drill press vise
Small hammer
small drill press
files
Sandpaper
Belt Sander (if possible)
-------------------------------
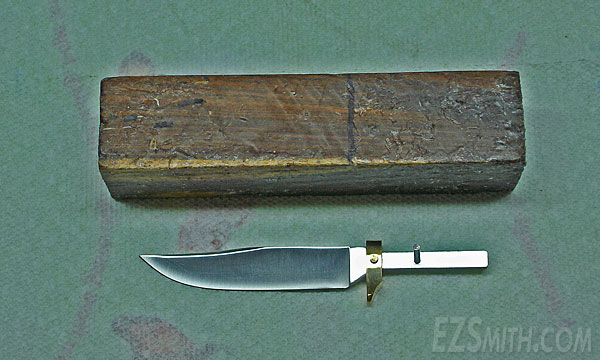
The above shows the Clip-Point Scout parts and optional handle material that we’ll be using for this project.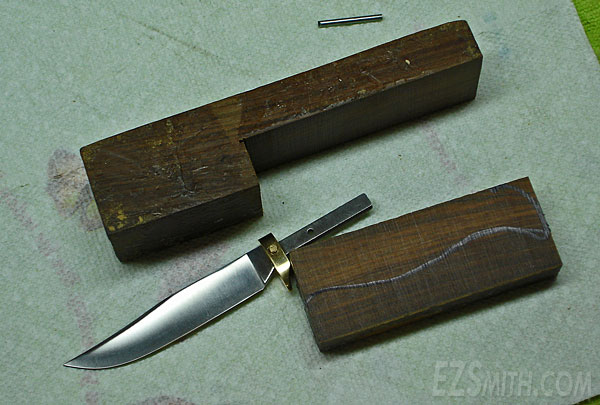
Start by sawing out a piece large enough to accommodate the handle. Then lay out the profile of the handle as shown and saw out the rough profile.
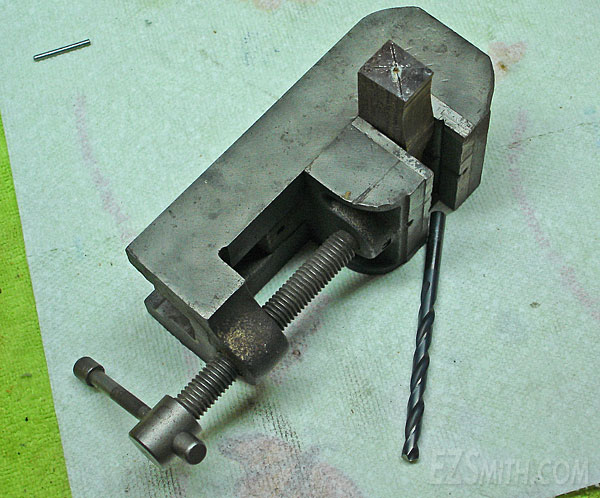
Clamp the wood in a small vise as shown and find the center.
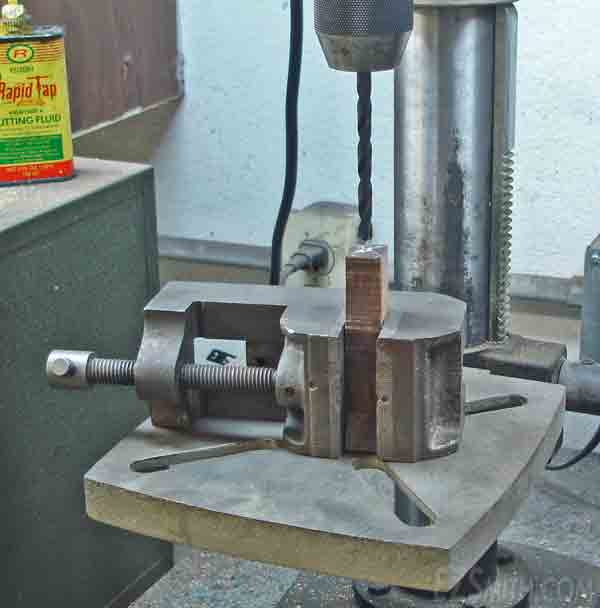
Drill a hole with a 9/32” drill deep enough to hold the knife shank.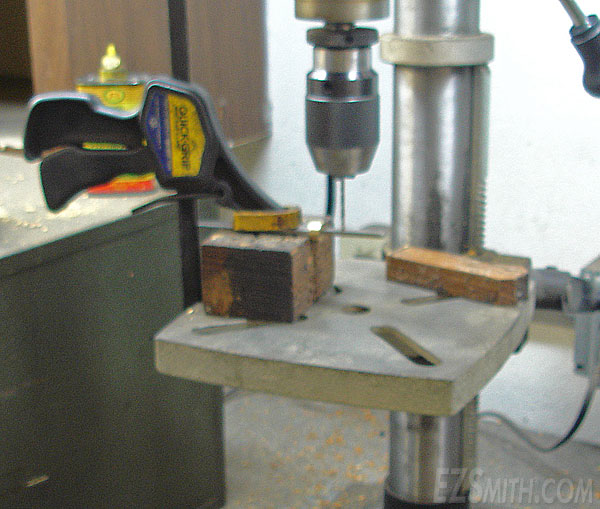
Chuck up a 3/32” drill, stick the drill thru the existing hole in the shank and clamp the setup securely to the table on the drill press.
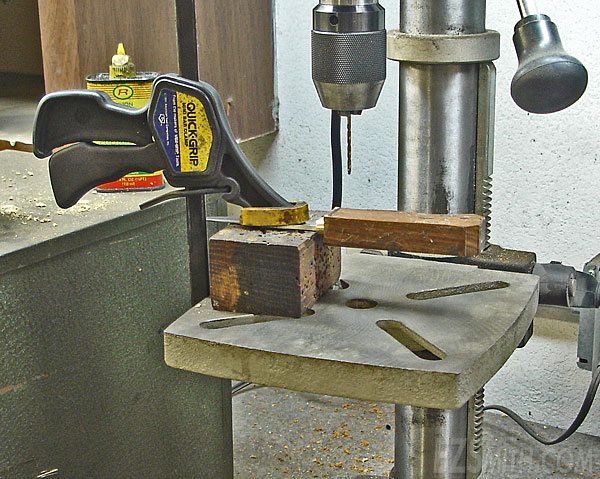
Hold the handle tight against the bolster on the knife and drill thru.
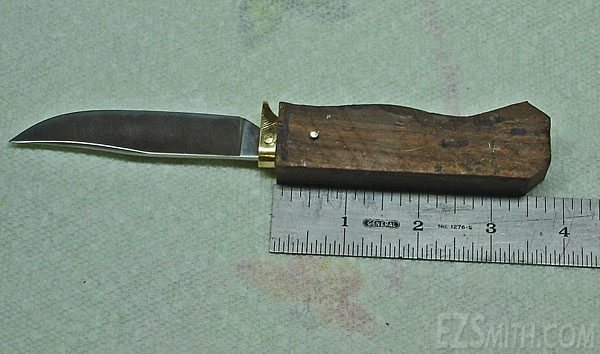
Fill the hole in the handle with 2-part epoxy, put the handle on the tang, and drive the pin thru. Now peen the pin on both sides and let the epoxy cure.
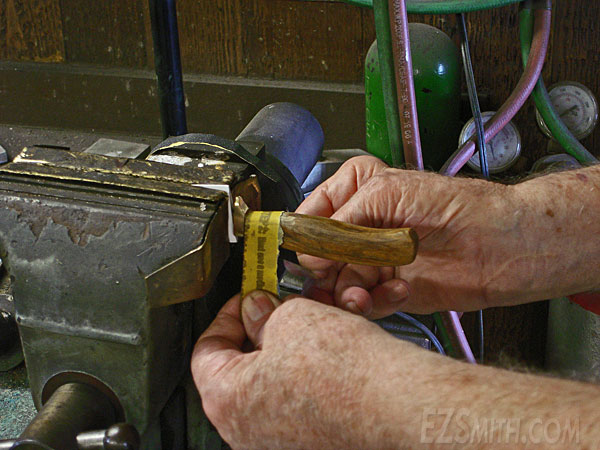
File and sand the handle to shape.
---------------------------------------------------------
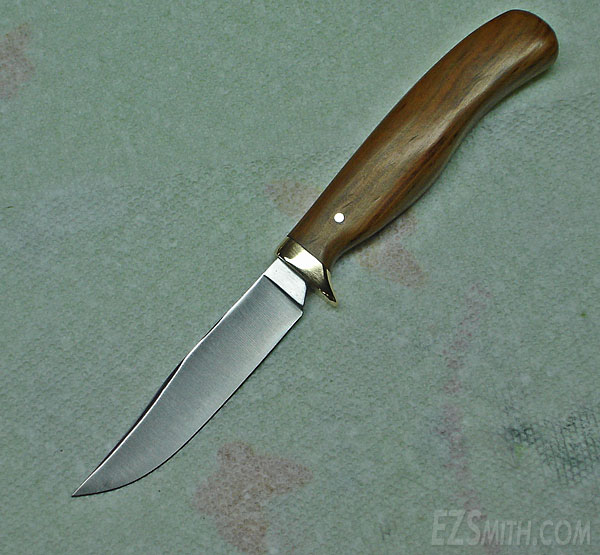
Congratulations, you now have a beautiful Clip-Point Scout!
Be careful before, during and after assembly!
It’s sharp!
---------------------------------------------------------
Still stuck? We reply within 1 business day.
Contact us