
Help articles › Kit Instructions
Print / Save as PDFAssembling the KnifeKits Combat Survivor
CS475BL
-----------------------
Tools Recommended
¼” Drill
Hand Files
Small Countersink
Sandpaper or Belt Sander
-----------------------
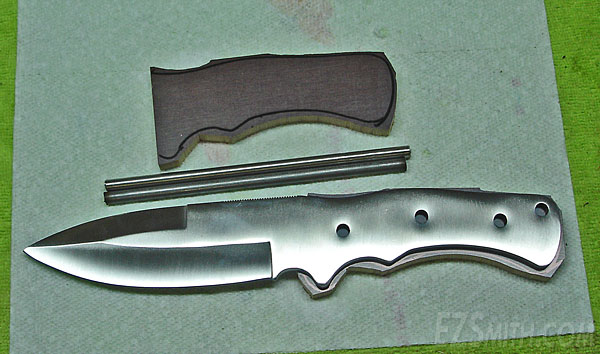
Start by drawing around the handle profile with a marker, then saw the two handle scales out, leaving plenty of stock all around.
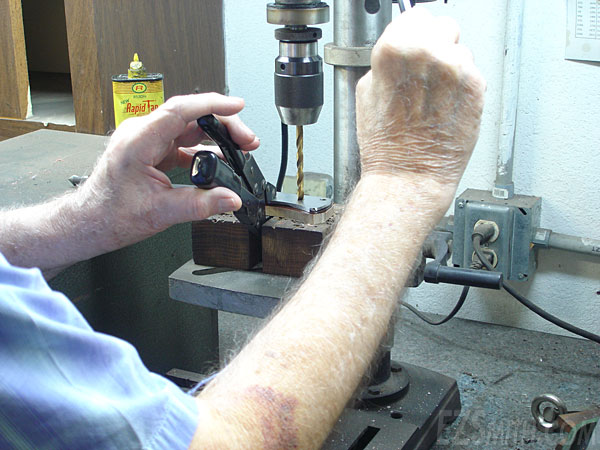
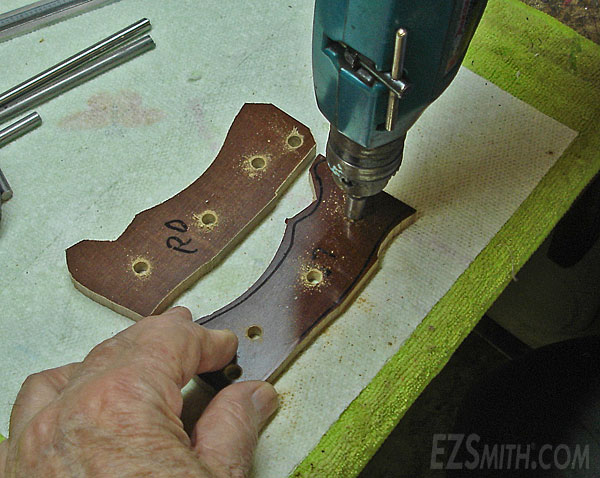
Clamp a scale to the handle and using a ¼” drill bit, drill thru the holes in the handle and thru the scales. After drilling two holes, put two pins thru those holes before proceeding. This will keep the handle from shifting. Repeat for the other scale.
Put the handle together temporarily and file or grind the profile down to metal.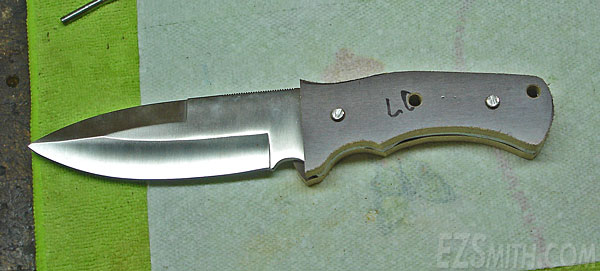
Countersink all the holes slightly to remove burrs.
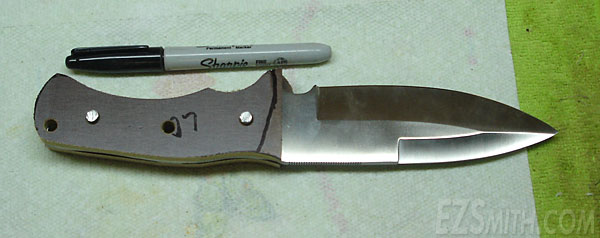
Shape the front of the handle and finish the front. It won’t be possible later to do this on the knife. Next, assemble the handle and rough shape it all over while mounted on the knife.
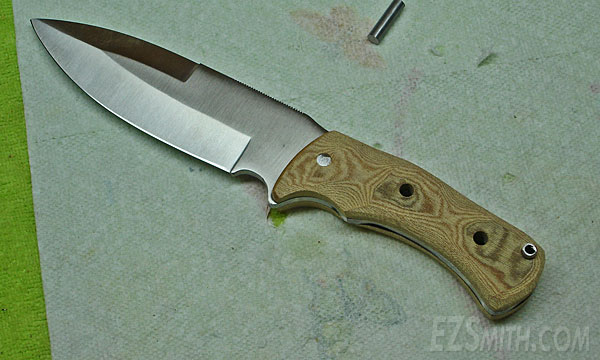
After rough shaping, layout the front of the handle however you want. Remove the scales and pin them together
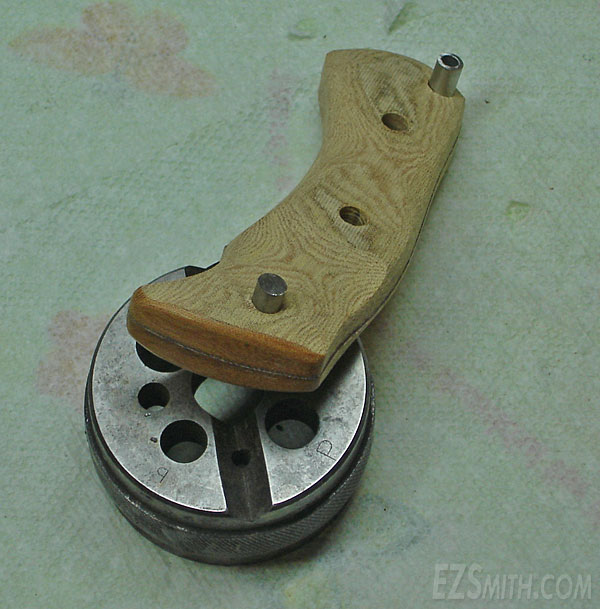
Be sure to finish the front of the scales.
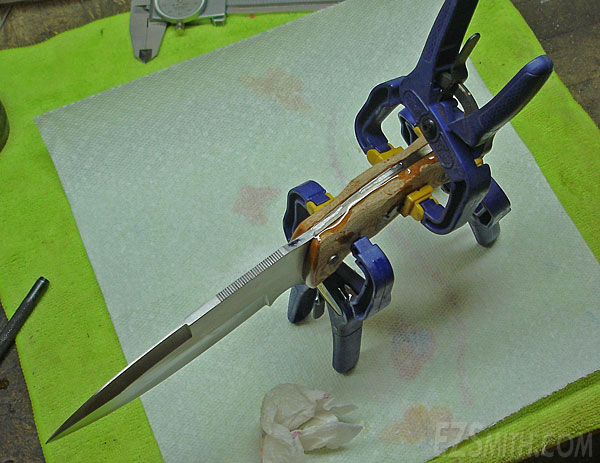
Coat all surfaces with 2-part epoxy and let it cure while clamped.
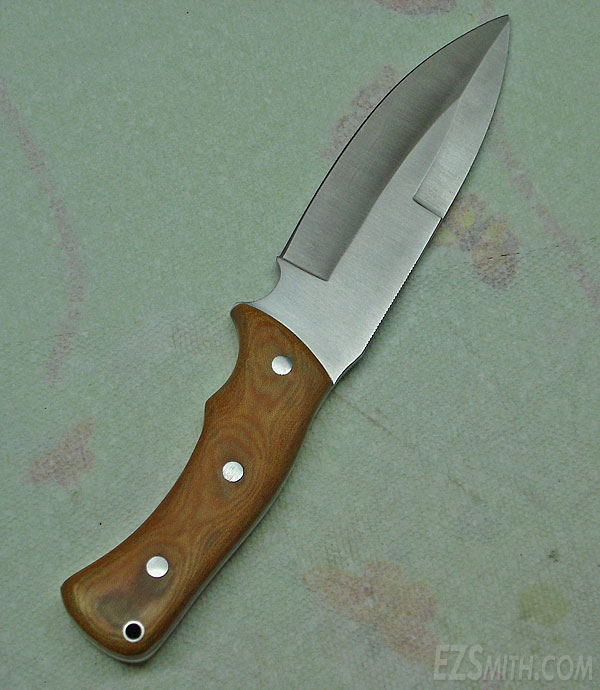
Sand and polish your handle to suit.
---------------------------------------------------------
Congratulations, you now have a beautiful Combat Survivor!
Be careful before, during and after assembly!
It’s sharp!
---------------------------------------------------------
Still stuck? We reply within 1 business day.
Contact us