
Help articles › Kit Instructions
Print / Save as PDFAssembly Instructions for the KnifeKits.com
Clip Point Hunter #KKCPHBL
w/Padauk handle
----------------------------------
Tools used:
Drill press
#30 (.1285) drill
¼”drill
small countersink drill
Saw
Files
Sandpaper
(A belt sander would be helpful)
----------------------------------
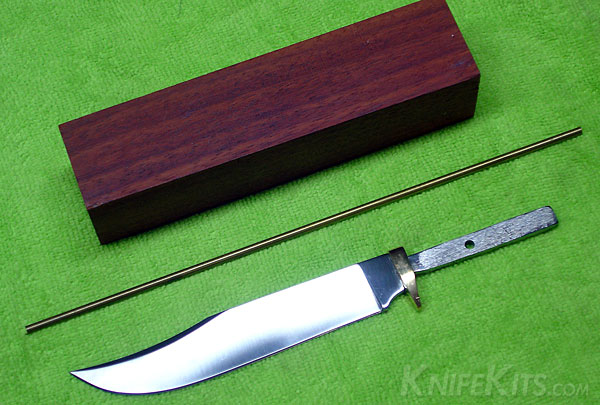
These are the basic parts that we’ll be building our knife from.
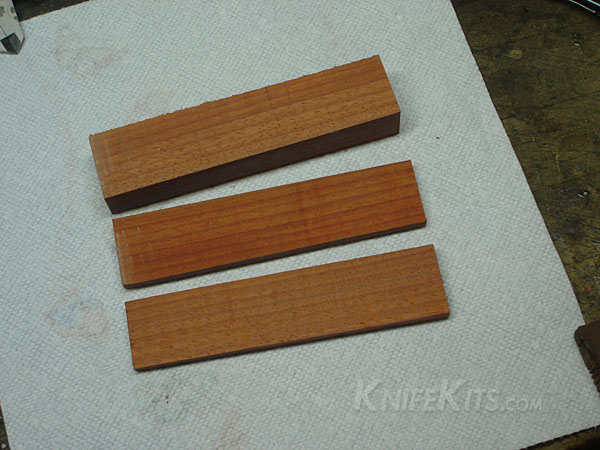
Let’s begin by sawing some of the excess from the handle block.
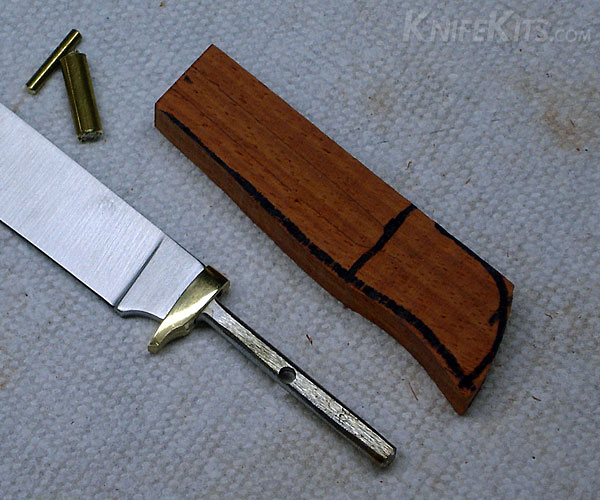
Saw out the shape you want on the handle block.
Now, in order to prevent grinding into the hole we’ll drill for the handle tang,
I ground and rounded off the tang as small as I could without grinding into the existing
hole in the tang.
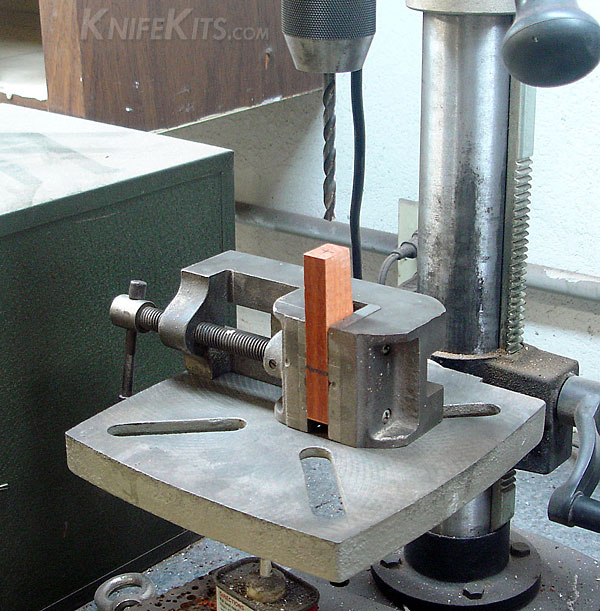
Drill a hole deep enough for the tang with a ¼” drill. Then, slightly countersink the opening.
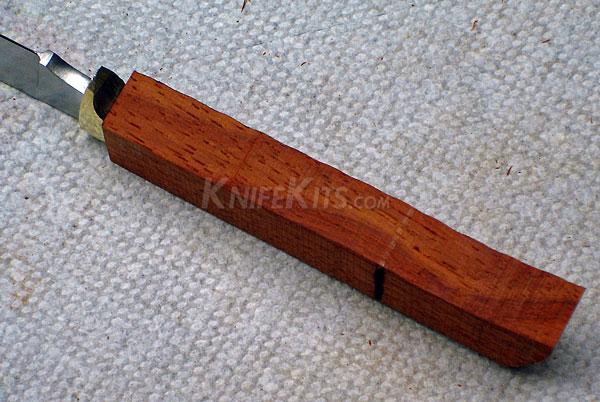
The tang should slide in up to the guard similar to the above view.
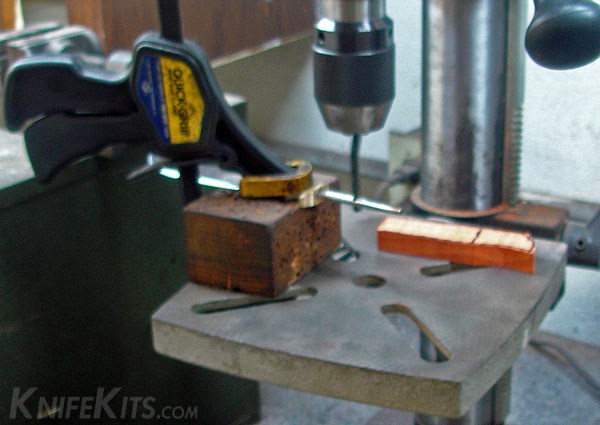
Clamp the knife to your drill press table and line-up a #30 (.1285) drill, so that it will enter the hole
in the shank.
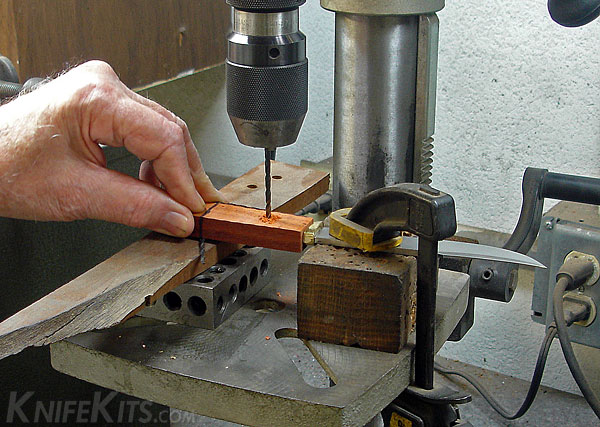
Force the handle against the guard as shown and drill all the way thru the wood and the tang.
Note: I turned the setup above around so that I could hold it with my left hand.
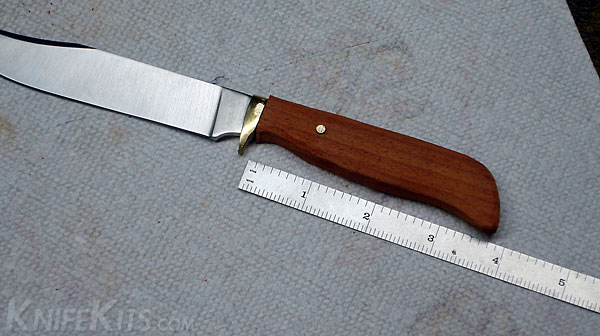
Assemble the handle temporarily and shape it to your liking.
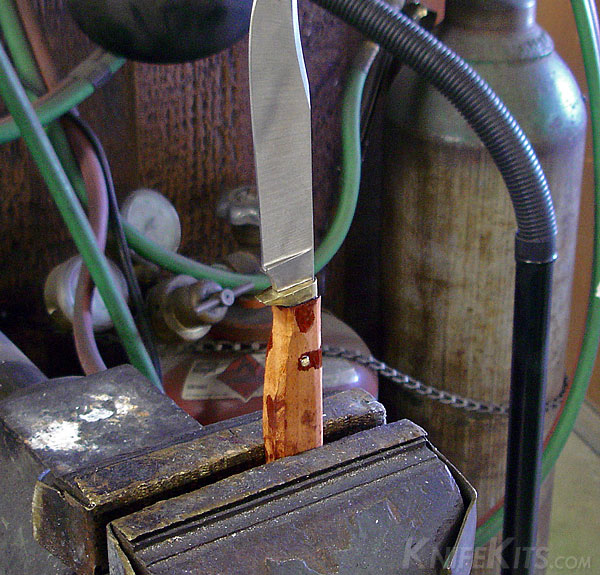
Fill the hole with 2-part epoxy, push the tang inside and slide the pin thru the handle.
Let the epoxy set before handling.
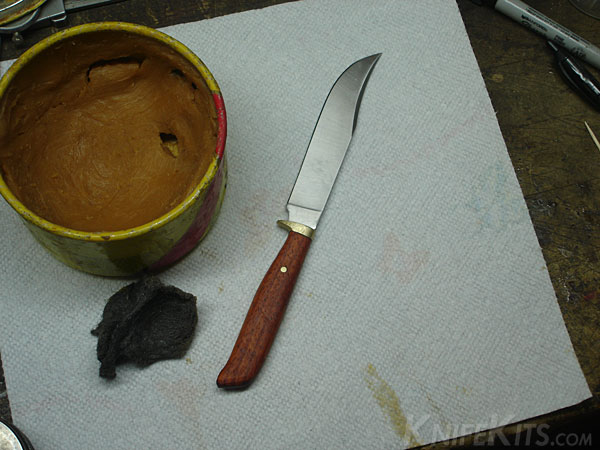
Sand and polish the handle. A coat of paste wax buffed in will help the look and finish.
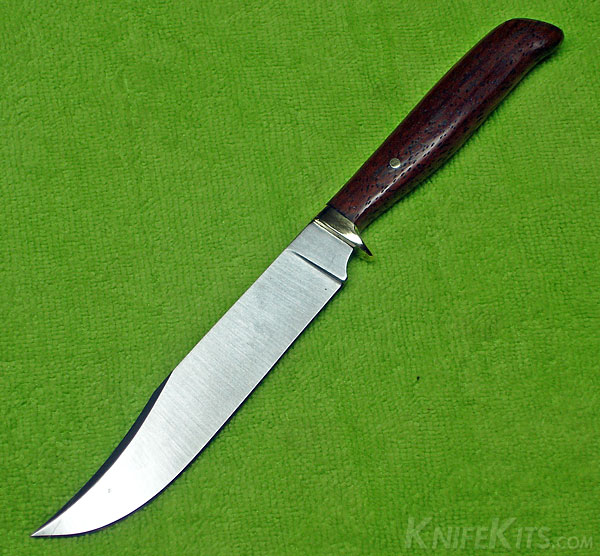
That’s all! Now you have a great knife and a fun project to build, too!
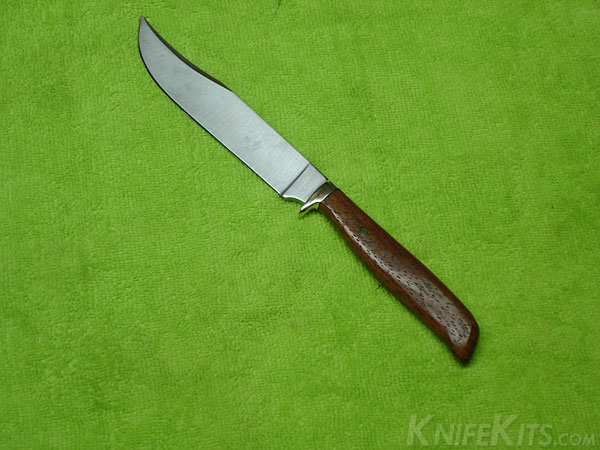
Congratulations!
You have a new
Clip Point Hunter
Still stuck? We reply within 1 business day.
Contact us